Sound
Arrival Craft:
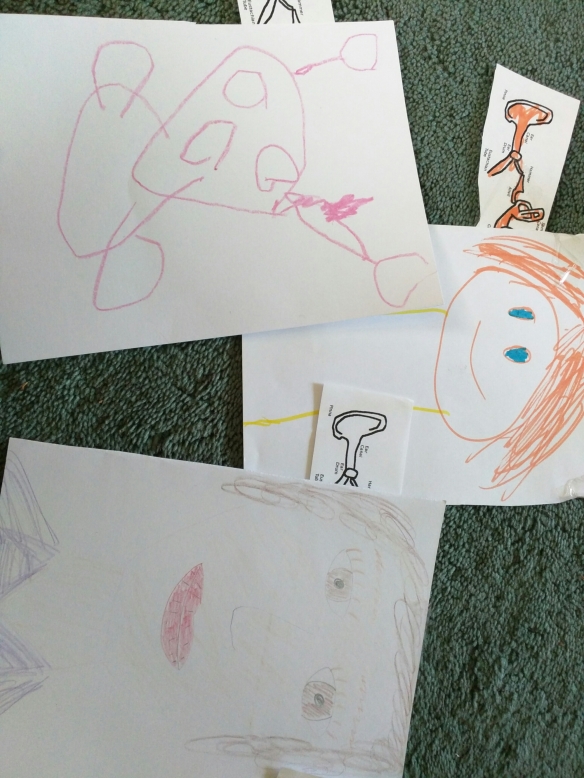
Make Ear models using printed diagrams of the internal structure of the ear and drawing faces.
Today we’re talking about sound. Does anyone know how sound travels through the air?
Sound travels through the air as a wave. Show children the paper slinky.
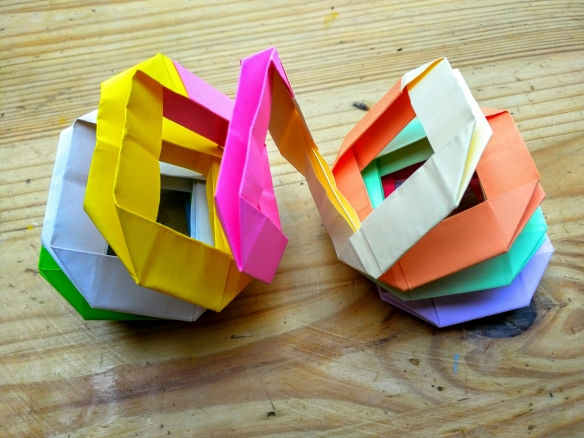
Eldest and I made this following the instructions here. Originally, I had intended to use it as an opening craft, but it was very time consuming and a bit fiddly, so I decided against that and just took one to show.
Air particles hit one another and carry the sound through the air. It can’t travel in space – where there isn’t any air.
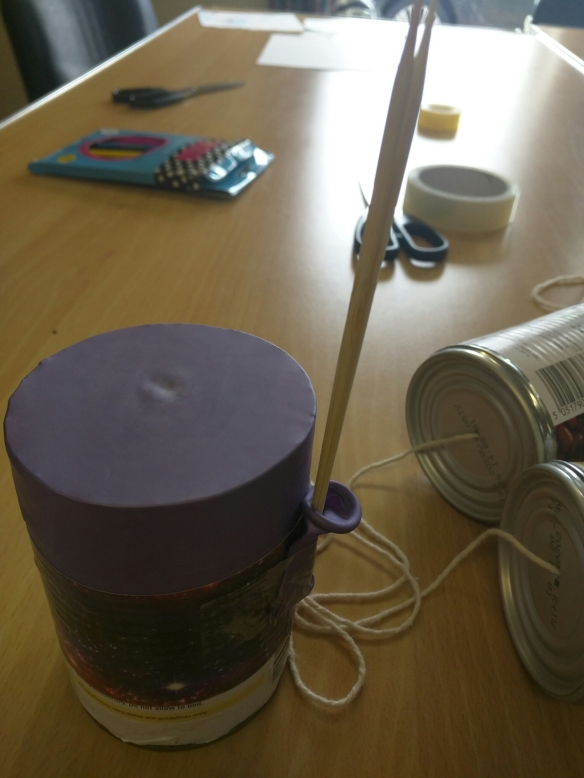
Sound doesn’t only travel through air, it can travel through all sorts of other media, like string, which we’re going to have a go at now, by making tin can ‘phones’.
Individual Task:
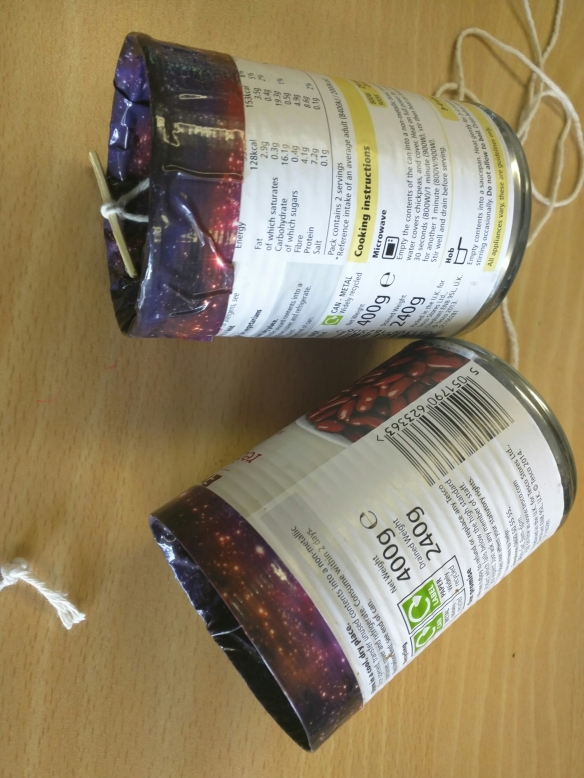
In small groups, children can make tin can ‘phones’ by covering the ends of the cans with tape, threading string through the holes already punched in the bottom of the cans and holding it in place with matches.
Extension:
How did your model phones work? What stopped them working?
The string has to be taught. The can needs to be held near the ear and the mouth.
The can directs the sound waves and sends them down the taught string, where the other can directs them to your ear.
We’re going to do an experiment now to examine how sound works.
Elastic band experiment.
Break for drink and snack.
Gather Together:
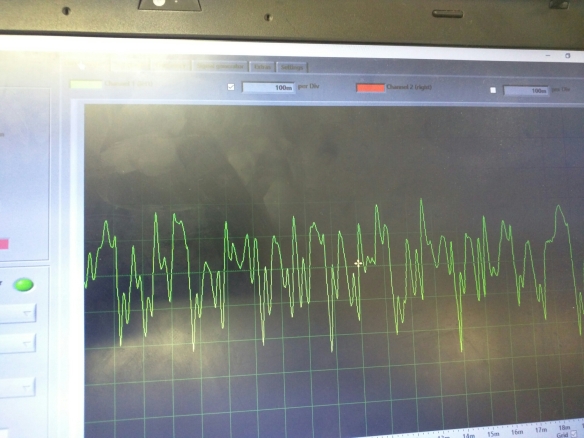
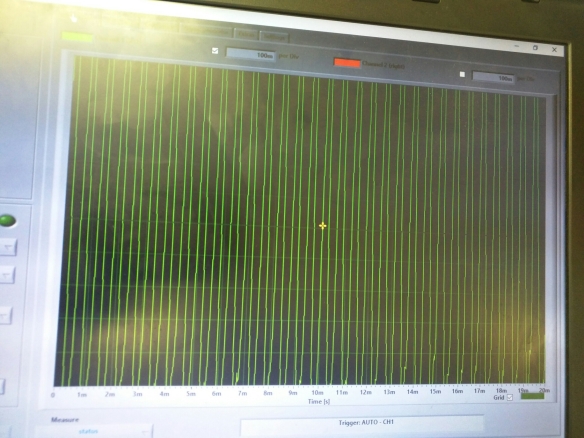
I’ve got a program on my laptop that will let us look at sound waves.
We usually describe sound waves in two ways: there’s amplitude – how big the wave is, and how loud the sound is – and there’s frequency – how close the waves are to one another and how high pitched the sound wave is.
Use the tuning forks to show how different pitches show up. If any children have brought instruments, we can see what it looks like when these are played.
Individual Task:
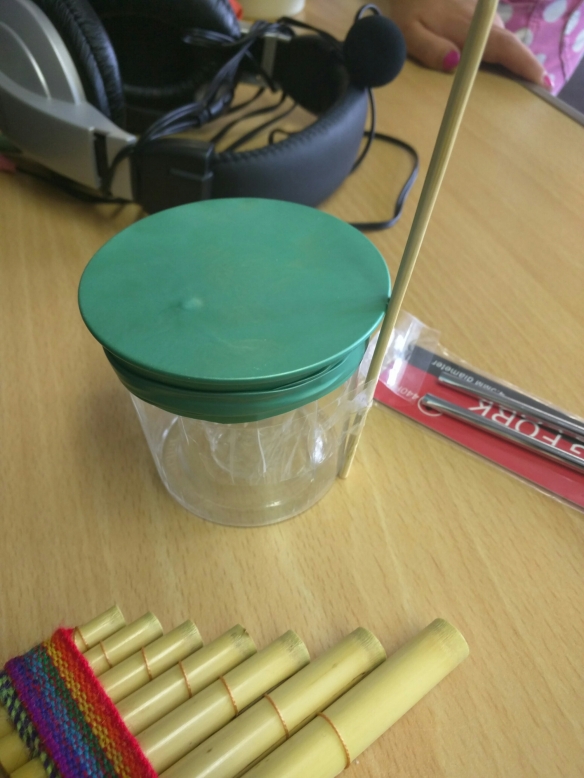
Make balloon drums to take home.
These are very simple, you cut the end off a balloon, then stretch the remaining balloon over a cup or tin. Secure the balloon with an elastic band to hold it taught. That’s it.
I gave the children wooden skewers to use as drum sticks.
Elastic Band Experiment
You will need:
At least two people.
An elastic band.
A measuring tape or ruler.
A tin can or plastic cup.
Method:
- Hold the elastic band between two fingers, do not pull it tight.
- Measure the length of the elastic band and write the length in the table below.
- Twang the elastic band and listen to the sound it makes.
- CAREFULLY pull the elastic band so that it is five centimetres longer than it was.
- Write the new measurement down in the table below.
- Twang the elastic band again.
- Does it sound higher or lower than the first sound?
- CAREFULLY pull the elastic band so that it is five centimetres longer than it was.
- Write the new measurement down in the table below.
- Twang the elastic band again.
- Does it sound higher or lower than the first sound?
| Length of band | How does it sound? |
Conclusion:
Circle correct word in the brackets to show the result that you found:
Stretching the elastic band made the sound
( higher lower ) in pitch.
Further Experimentation:
What do you think will happen to the sound if you stretch the elastic band over the top of a can or cup (like in the picture below)?
The sound will be ( louder quieter ) when the elastic band is stretched over a can or cup.
Try it out. Was your prediction correct?
Yes No


